So for part of my Final Major Project I have needed to do three photoshoots, and for this particular one I was inspired by the film Freaks. It doesn't look so freaky now, but these are just my reference photographs to be illustrated and/or edited over at a later date! I needed some sort of vintage-style 30s-40s slip. Antique shops could only offer me £85 slips and for something I might never wear again! So I decided to head down to Fabricland and buy my own fabric to make up my dress! I wanted to share with you all how easy it is to make a glamorous film-siren dress so I made this tutorial so you could try it yourself! And if you're not brave with a sewing needle then in a month or two I will happily make these to order for anyone, just like anything else you will see that I've made. This will start happening soon after May when my foundation degree is out of the way and I can start making again!
 | ||
| "Booty" AKA Chloe pictured in my creation! Photography by myself |
What you will need
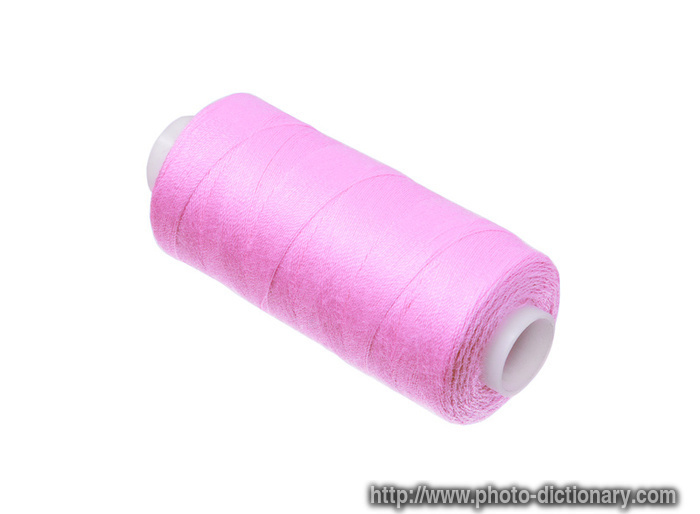
1. Sewing thread in a similar colour to the fabric of your choice
2. Fabric of your choice - Chiffon works best for this slip style but any fabric of your choice can be used, however light fabrics work best as they drape better. For the back of this dress I picked a white lace so you could do the same if you wanted.
3. Shirring thread - This thread is elasticated to make the stretchy waist
4. Sewing needle and pins - you will need this as well as a machine as there are some bits you will want to do by hand as they are only small!
5. Measuring tape - you need to measure from the top of your shoulder to your waist, and from your waist to the floor, around your waist, and also from side to side of your bust.
Instructions
1. Okay! So now you've got all your materials together you need to start making your pattern! It will be easier if you have some pattern paper so that you can draw it easily but it's not necessary, just pencil in the shapes on the fabric to look like this:
Now, this will be part of your top. You will need to cut four of these. Notice how the height of it is the measurement of your shoulder to your waist. Remember to add seam allowance to these measurements when cutting your fabric (1.5cm - 2cm)! Around the middle is where your bust would be and you want enough fabric to cover that area, if you're not sure just hold it up to yourself and see how much you need. The bottom measurement needs to measure from your side to around the middle of you, just above your belly button. The reason why we need to add a couple of inches onto this is because we're going to gather it! Also note how I have marked "CF" which means "centre front", which is the bit that is nearest.. well the centre of the front of you! Notice how the opposite side is curved inwards slightly, which will help give the top a nicer "shape".
2. Okay, so now you've cut out your four pieces of fabric you need to match them up in pairs and place them right sides together. This won't matter if your fabric is the same on both sides though! So you now should have something that looks like this:
Now you're going to tack or pin around them and sew the pieces together, but you need to leave a space like this so that you can turn them inside out later:
The red sections are what needs to be sewed around and the blue is the space you'll be leaving! Now you can turn them inside out, and neaten off the top section by folding the fabric in and just hand sewing it. Don't worry if it looks messy as you can cover this later! If you want to alternatively turn this into a halter neck, all you need to do is extend the top as much as you would like so that you can tie it up at the back!
3. Now we're going to gather the top! You need to switch your sewing machine so that the stitches are bigger, so on most sewing machines you could put this onto a 4 and it would work fine. These are the bits you need to stitch:
Once you have done that, take one side of the loose threads from the stitches you just did, tie one end and pull on the other so that the fabric gathers together, but be careful not to pull the thread out! Once you're happy with the amount of gathering and you have spread it out evenly, put your sewing machine back to it's normal settings and do another stitch just above the gathered one to hold the gathers in place. And for now you're done with the top!!
4. For the next bit you need to use the measurement around your waist and your waist to floor, as you are making the skirt. Because we are gathering the skirt, you need to add on more measurement to your waist. For this dress I doubled my measurement but it took ages to gather it enough so that it fits, so I had to hide the amount of shirring I did (I will explain this later if you need to do the same) so I would recommend simply halving your waist measurement and adding it onto your original measurement and that will be okay!
So it should look something like this. Add extra to your waist to floor measurement just in case! Now you want to sew all along the side to connect the two ends together to make a "tube". So where the "waist to floor" arrow is would need to be sewn to the parallel line.
5. Once you have done this, you will have what looks like a huge, baggy skirt! Now it's time to make it fit you!
You will now need to change the bobbin in the machine. You need to put the shirring thread on it by hand, so just wrap it around the bobbin until it is full, and leave the normal thread for the main spool. This is now where we get shirrin'!
So this is your "tube". The yellow bits are the bits where you're gonna be sewing. Shirring works best with a slightly longer stitch than usual but only turn it up one or two settings, or leave it as it is if you're not sure. You're now just going to sew around and around the waist, keeping the threads about 0.5cm apart as you keep going around it. You will need to do this a few times until it fits your waist, so stop a few times and try it on to see how many more you might need to do. So you will end up with something like this:
So basically a high waisted skirt! The lines are meant to be gathers and the white lines are where you shirred it. If you find that the shirred section is too big, then simply fold it under so only half of it shows and you fold it into the inside, and just hand stitch it in very small, far apart stitches to hold it in place. So you now have your skirt!
6. The next part is now putting the part of the top you made together with the skirt, which is easy enough! All you have to do it turn the skirt inside out, place the top sections at the front and see how they look. Pin them first and hold it up to yourself to check that they are in the right placement. Simply just sew the top into the waistband of the skirt so that the top comes out from underneath it. You can neaten this by doing a simple zigzag stitch around the edge of the top sections. So now it will start to look more like this:
7. Now for the final section, which is the back! I found the best way to do this is to lay out the dress, and place some paper or fabric underneath it and make a shape that is like this:
The parts shown with pink lines are the sections that need to match up with the rest of the dress. The bottom section will cover some of the back and the shoulders need to be the same size as the tops of the straps. You can now sew these together! Simply just sew together the shoulders and the waist parts together. I did mine in lace so I didn't hem the sides, but if you want to keep it simple use the same fabric and simply zigzag the edges to neaten them.
You can now hem the dress if you like! Notice how this tutorial isn't very specific and it's very easy to do, it's just a matter of matching things up and fitting things in the right places! If you try it on and the gap inbetween the boobs is too big, just add in a small stitch to bring them together like how Chloe is shown wearing it above. Otherwise, this is what you will have!
Hopefully this has inspired some of you to make your own slip! If anyone uses it let me know so I can find out how you got on!
- Toots
Follow us on


No comments:
Post a Comment